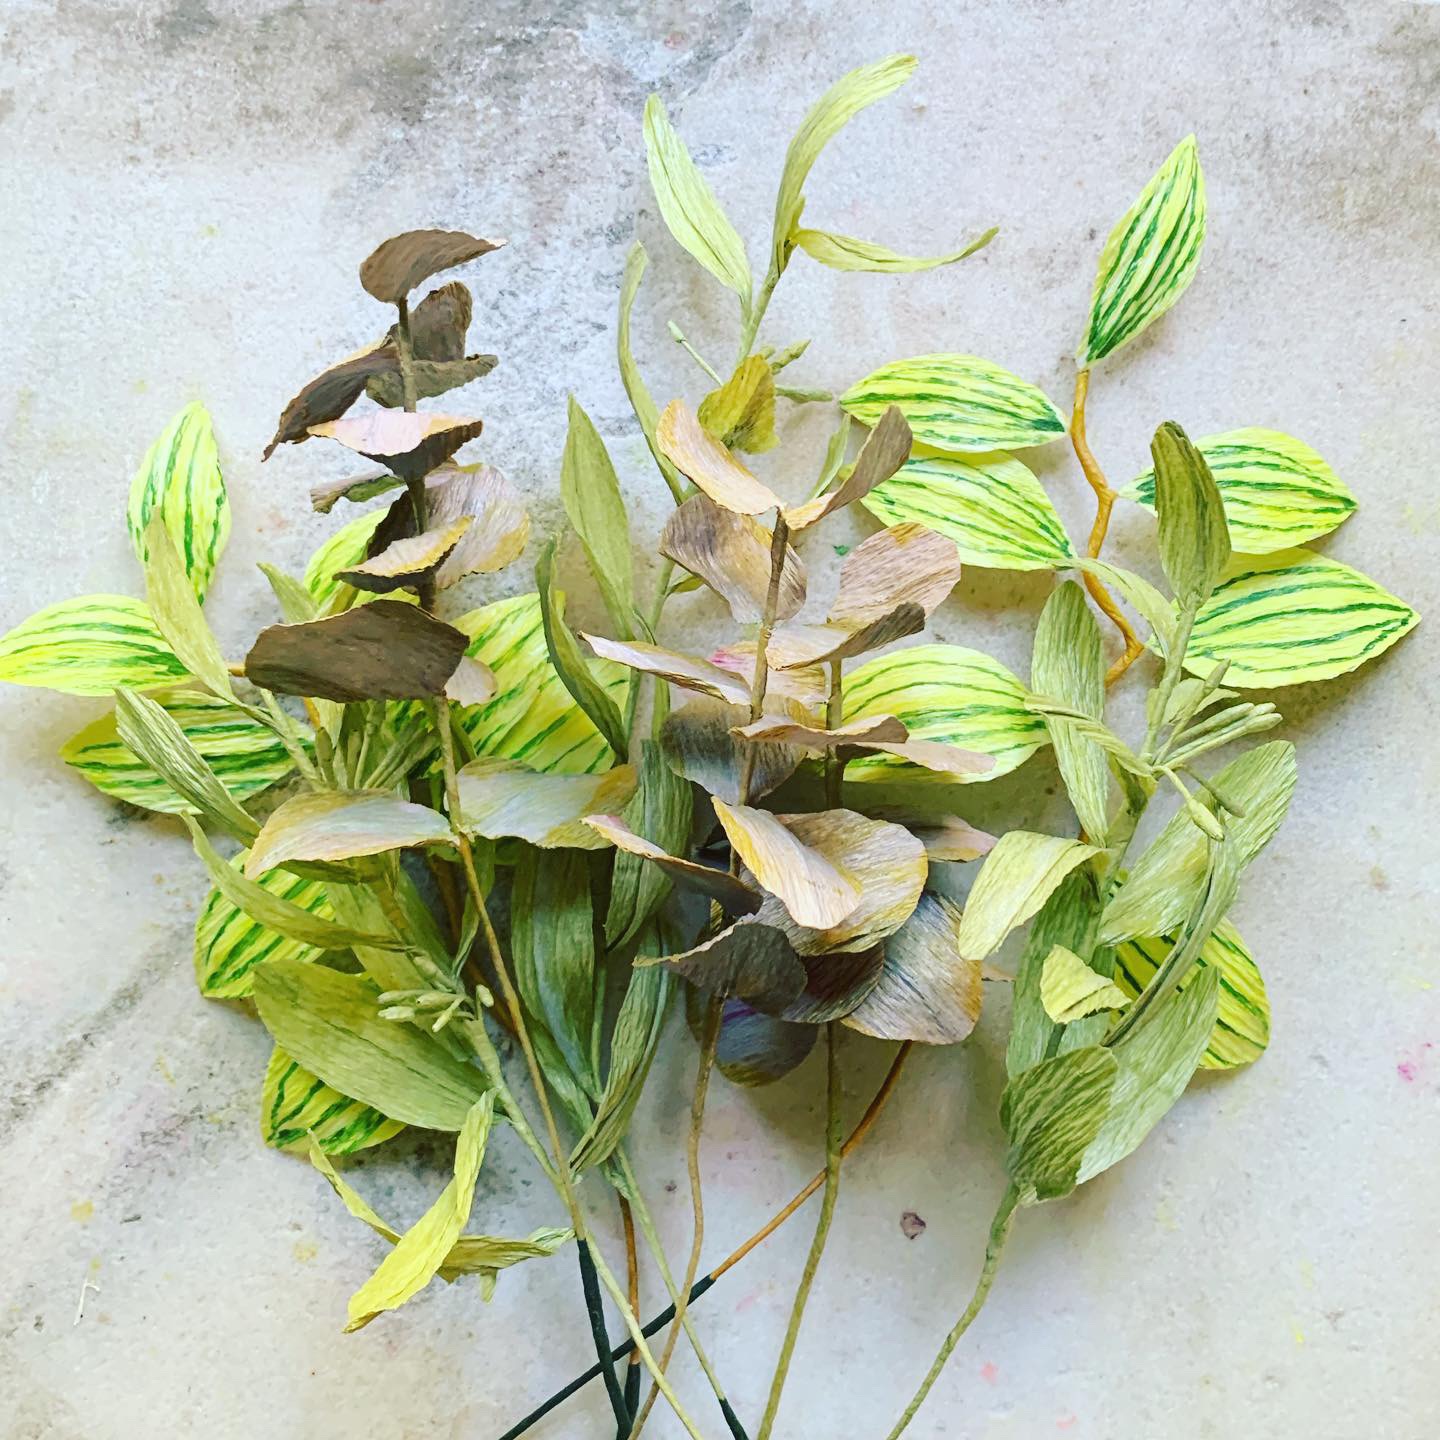
Introduction and how the lesson will work

Foliages are the stage upon which flowers dance.
It is always wise to do foliages before blooms, as they tend to have a lot of handwork involved that will get you warmed up nicely. There are 8 stems in this lesson: three seeded eucalyptus stems for texture, three non-seeded eucalyptus stems, and two Solomon's Seal stems. Please note these are botanical interpretations. They resemble the foliages, but are not exact copies.
How the lesson will work:
I've created a series of photos of the steps you will take, along with the process video of assembling the foliages. You will be working on all three foliages interchangeably, so that the glue has time to dry on one while you start the next task of another.
Things to keep in mind:
This lesson will take you all day, with breaks for drying times.
You will want to prepare a space to work in that will not be disturbed for the day. I typically have three small table or counter top spaces I use when making flowers.
Scraps are inevitable; save them by color in paper lunch bags if you are so inclined, and staple a scrap of the color to the bag so it's easy to find when you need "just a bit" of a color.
Keep a towel nearby to clean your hands and scissors. You will get glue on yourself and your tools. Alcohol and cotton balls are a must to clean your tools at the end of the day. I use a process that turns 180 gram crepe pieces, single sheet, into double sheet, or doublette, using a lot of glue.
Glued leaves will need to tack up and set before final assembly, so plan on taking some long breaks before finishing. If you assemble too soon, gravity on the wet leaves makes them droop after drying. Fixable? YES. Avoidable? YES. Patience is key.
You will NOT be adding final coloration or conservation in this lesson, that is saved for lesson 6! So, your foliages will look very nice, but will not be finished for display today. After you finish lesson 1, put them in a vase and don't touch them (if you can manage!)
